3D Printing is a process for making a physical object from a three-dimensional digital model, typically by laying down many successive thin layers of material. It brings a digital object (its CAD representation) into its physical form by adding materials layer by layer. The input is the model design of whatever you want to make, and the output is its real life 3D model, present in the 3D space. 3D Printing can be done using different types of 3D Printers. 3D printing allows students to experience their projects from the model stage to the actual model creation. This creates both excitement and a better understanding of the design process as they gain hands-on experience from conception to creation. The individual features are seen more clearly as the student builds the project layer by layer. Excitement also stems from the ability to explore real details, not just on a screen or in a textbook. 3D printing also brings the world of theory to the physical world where students can see and touch, opening up new possibilities for learning and activities. Apart from fun activities, 3D printers are very useful for making components of devices, in organ synthesis, and recently even a whole house was built using huge 3D printers.
Let’s now look at some components of a 3D Printer and learn in detail about them
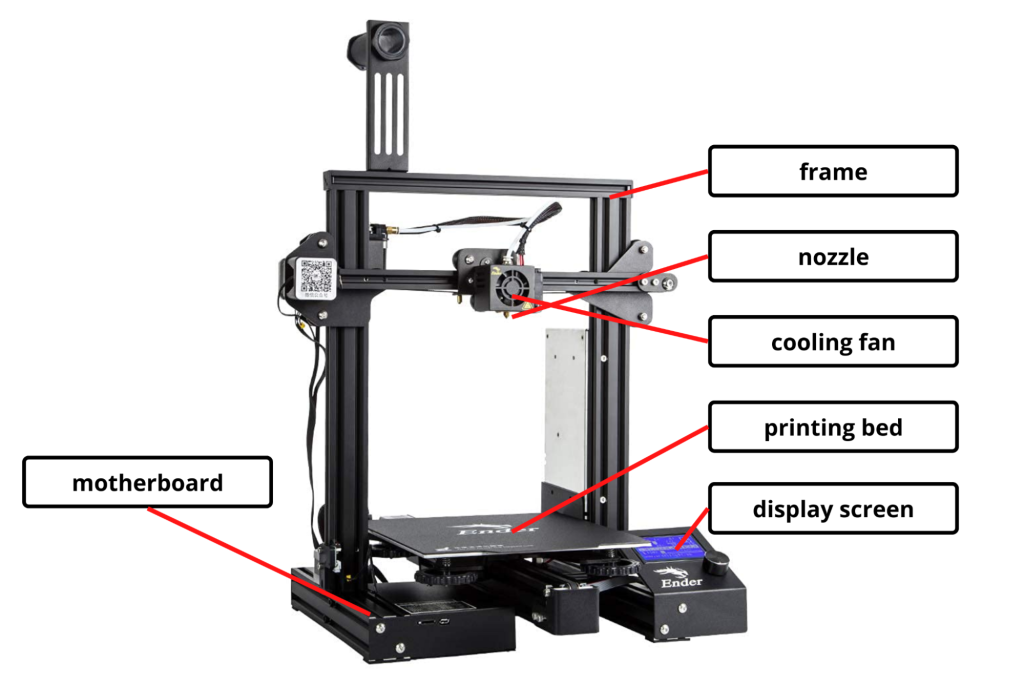
Components
1. Printer frame
A printer frame is essential to provide support to all the components that carry out the printing process.
2. Nozzle
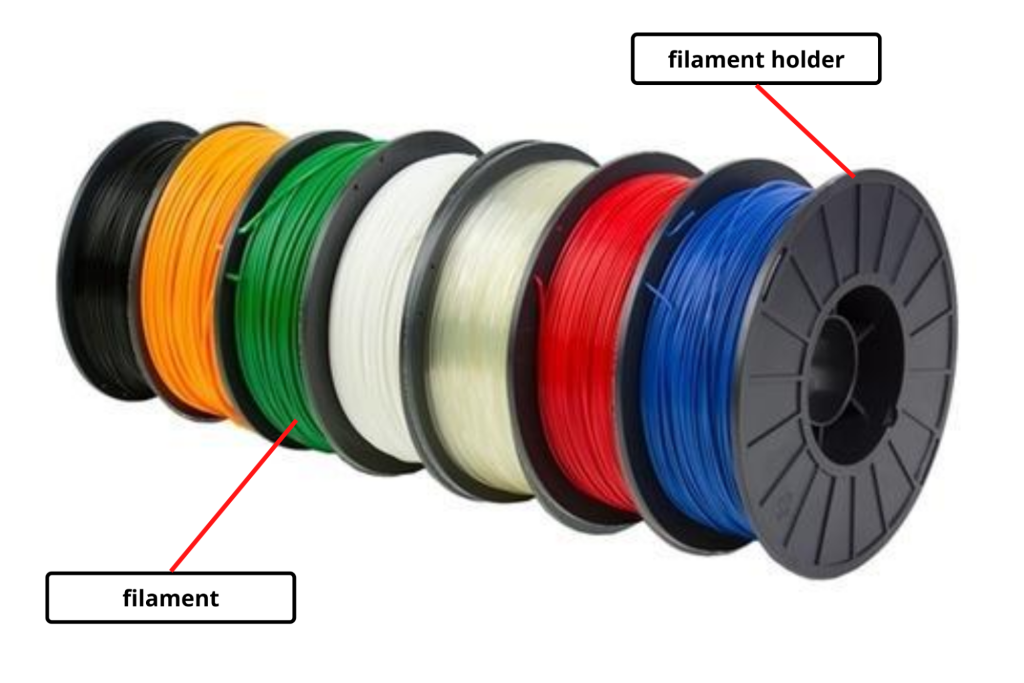
It is the part of the 3D printer which extrudes the filament. It heats the cartridge and melts the filament, which is then used to start the printing process.
3. Cooling fan
The fan used in the 3D printer is directed towards the plastic that comes out from the hot end, to cool it down and solidify it properly. It is essential to make sure that the model isn’t deformed.
4. Printing bed
A 3D printer bed is a flat surface on which a 3D printer builds the model. It is required to keep the surface flat and on horizontal level for printing the model successfully.
5. Display screen
A small display screen is a multipurpose screen present in 3D printers to show all the relevant information that might be required to be shown to the users
6. Motherboard
The motherboard on 3D printer, just like on every electronic device serves as the brain of the device, and all the components of the 3D printer are connected with the motherboard to coordinate the task
Material Specifications for a suggested FDM (Fused Deposition Modeling) 3D printer
| Minimum dimensions | 160mm *160mm *160mm Build Size or 4 litre Build Volume |
| Nozzle | 0.3mm to 0.4mm nozzle diameter |
| Slicing Software | Free or open source |
| Material compatibility | PLA, ABS, and derivatives of PLA |
| Repair Kit | Common repair kit with spare springs, screws, keys, tweezers, etc |
How to use
1. Prepare your design for 3D printing
First of all, to get a 3D model printed, you’ll need to have a 3D model. There are two ways to get it. You can either use some free model available on the internet and print it, or you can make your model. Some free models can be found on websites such as Thingiverse, Free3D (https://free3d.com/) and Sketchfab (https://sketchfab.com/features/free-3d-models). Or, if you want to make your own models, there are many cool software and websites such as Tinkercad (https://www.tinkercad.com/) and Blender (https://www.blender.org/).
2. Getting the design ready to print
Once you have the 3D model ready, it’s time to get it printed with the use of a 3D printer. One thing to observe is that the printer doesn’t work with the common .stl or .obj model files. Instead, the model needs a slicer to convert it to g-code which can then be used by the printer to print the model. Cura is preferred for those purposes, which can be installed on computers from their website – https://ultimaker.com/software/ultimaker-cura.
3. Send your file to the printer
Once downloaded, load your model file into it and edit the profile of your model accordingly. Then, using the given options, the file can be stored on the laptop storage or the SD card. If you prefer an SD card, make sure to inject it into the computer slot before transferring. Once done, it’s time to print it. Plug the SD card into the printer in the slot near the motherboard. Select the option to print from an SD card and start the print. Alternatively, you can plug in your laptop directly with the printer and transfer the file that way. But in this case, make sure that the laptop doesn’t go to sleep as it will probably interrupt the printing process.
4. Start 3D Printing
Now you can sit back, relax and watch your creation come to life. Printing times vary depending on your printed object’s size, detail level and 3D printer type. On some 3D printers, a small component or rough prototype may only take a few hours. Most parts will be ready the next day if you leave the printer running overnight. And if you need a very large, detailed print, you may have to wait a couple of days.
5. Final Steps
When the print is finished, remove it from the printer. Depending on your chosen material and printing process, some final manual steps may be needed before it’s ready to use. In most 3D printers, this ‘post-processing’ is just peeling off a small brim of material around the 3D printed part.
Common Applications
1. Printing 3D models for education and research
2. Printing synthesized organs and micro equipment for medical sciences
3. Automotive industry
4. Construction, home development
5. Art and Jewellery
6. Printing designs for decorative purposes.
Some example projects that students can try out in the ATL Lab
1. Create your own imaginary 3D model on Tinkercad a print it.
2. Design a keychain for yourself with your name written in 3D3. Print out historical artifacts and 3D models of molecules
Safety Measures to Follow
1. Never obstruct the flow of printing with mechanical force.
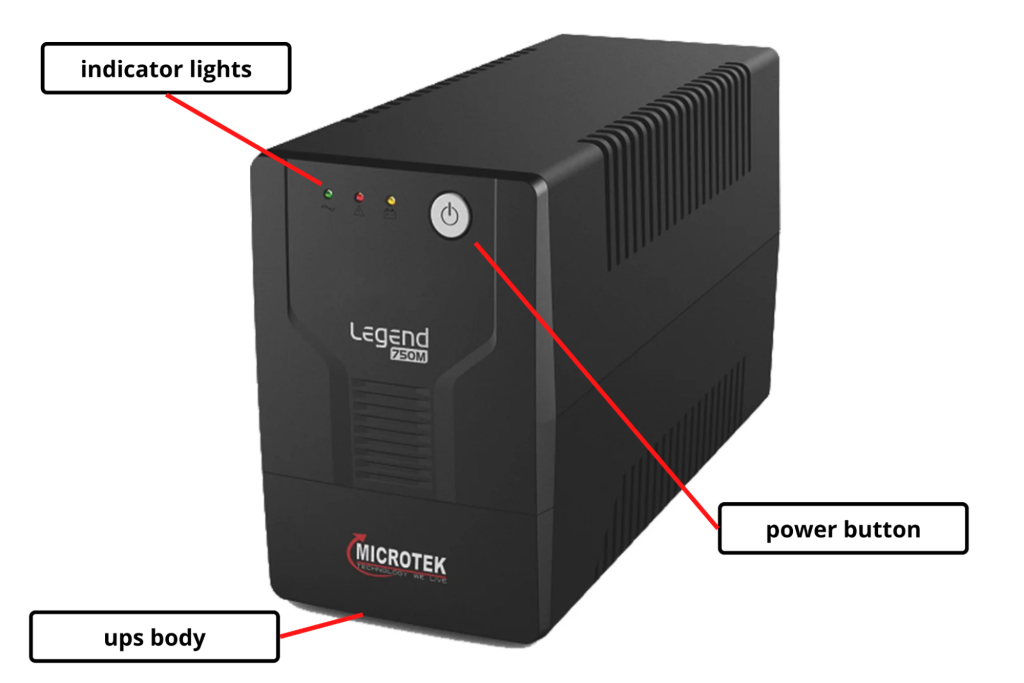
2. Ensure that there is a constant power supply throughout the printer’s usage.3. Ensure that the environment in which you’re using the printer isn’t very hot.
Important Links
How to use a 3D printer – https://www.youtube.com/watch?v=T-Z3GmM20JM
How does a 3D printer work – (https://www.youtube.com/watch?v=dGajFRaS834 )
Tutorial – Learn 3D Design using TinkerCAD – https://www.tinkercad.com/learn/designs?collectionId=OSZ5W2BL1W5N51F
Tutorial – Learn 3D Design using Blender – https://www.youtube.com/playlist?list=PLa1F2ddGya_-UvuAqHAksYnB0qL9yWDO6
Recommended Software for 3D Design – Tinkercad and Blender
Lesson Plans for teachers – (https://www.tinkercad.com/lessonplans )Sites to get free 3D Designs – Thingiverse – https://www.thingiverse.com/ , Free3D – https://free3d.com/ and Sketchfab – https://sketchfab.com/features/free-3d-models


